
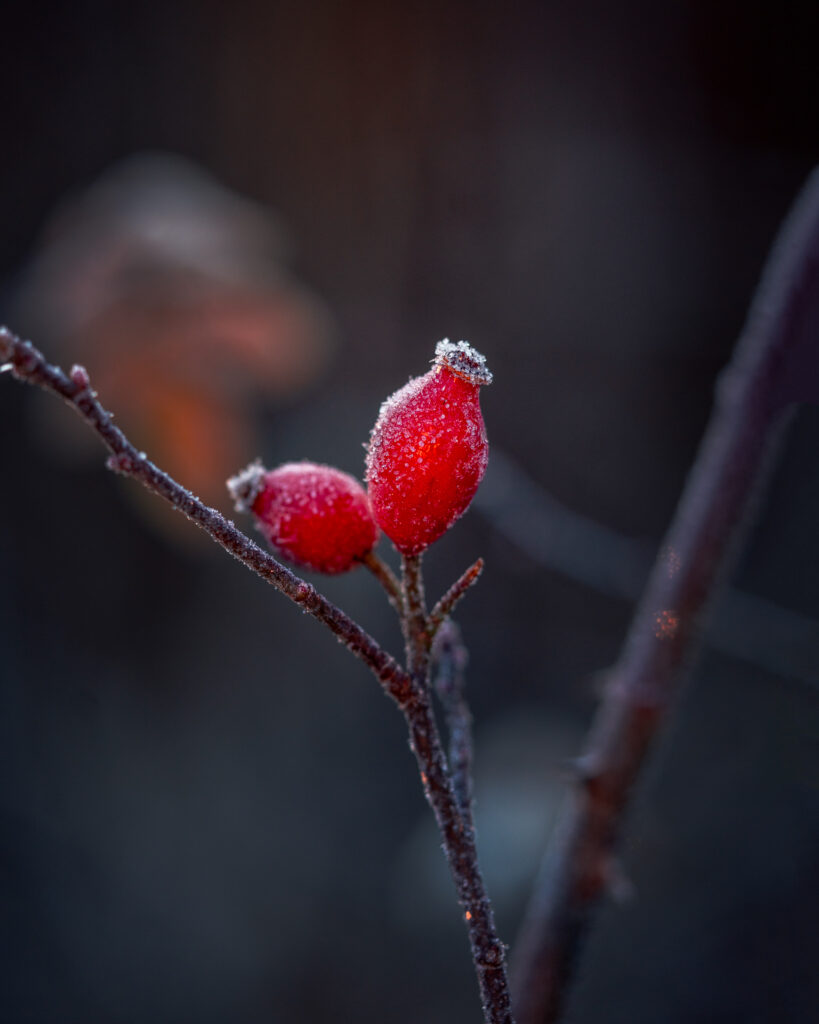
Winter is one of the most rewarding seasons for macro photography. Frost, snowflakes, ice bubbles, frozen leaves, and winter insects create magical tiny worlds filled with texture and sparkle. But the cold season also brings challenges: low light, cold batteries, moisture, and delicate subjects that vanish in seconds.
This ultimate guide will help you capture extraordinary winter macro images — from gear and focusing techniques to creative lighting and subject scouting.
Why Winter Macro Photography Is Unique
Winter transforms everyday objects into surreal mini-landscapes:
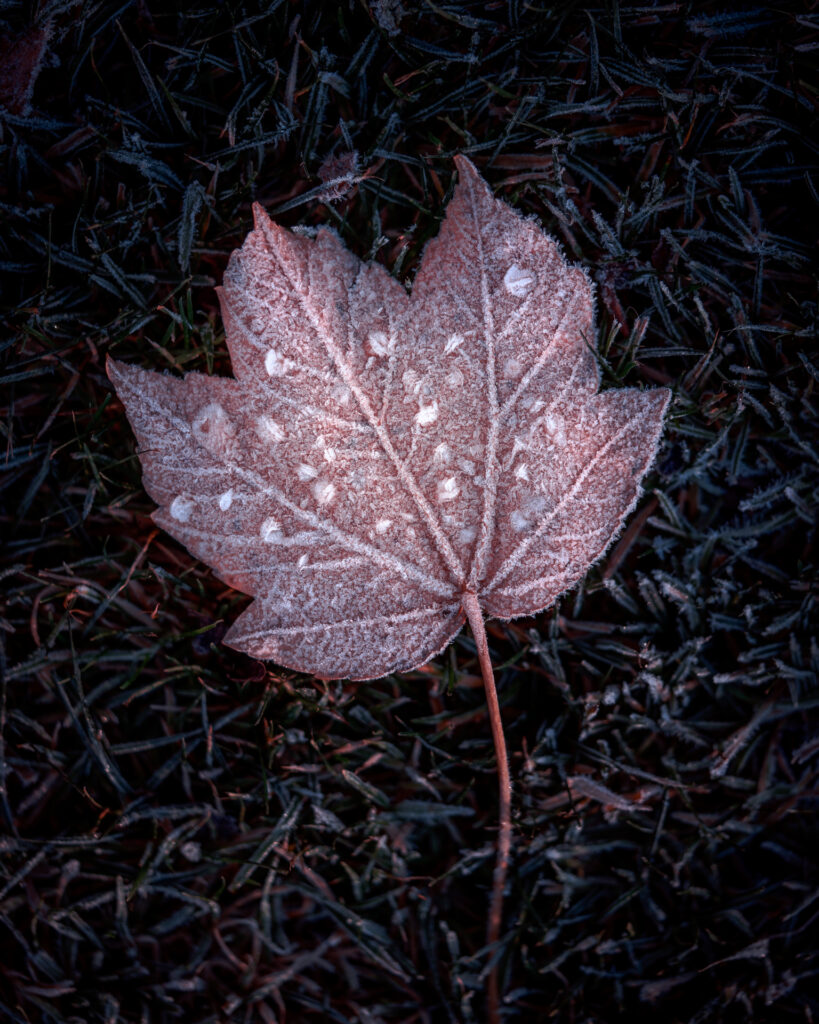
- Frost crystals form perfect geometric shapes
- Snowflakes become intricate sculptures
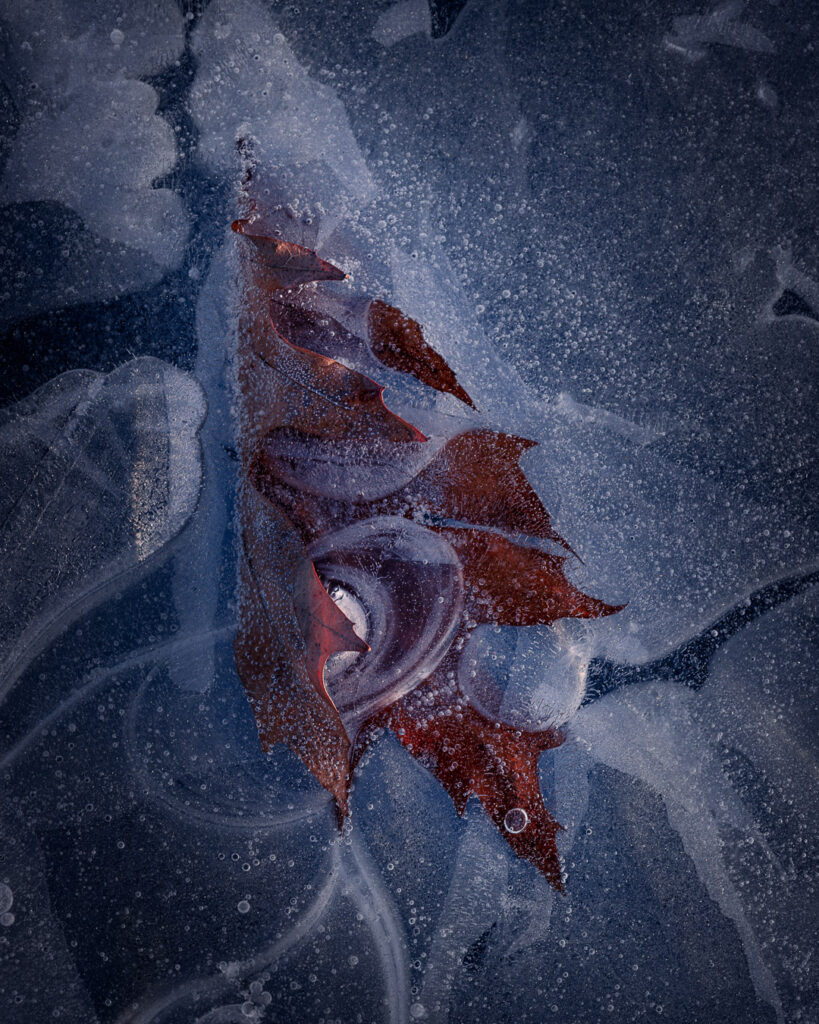
- Ice traps leaves, seeds, and air bubbles in dynamic patterns
- Frozen mornings reveal gems hidden from the naked eye
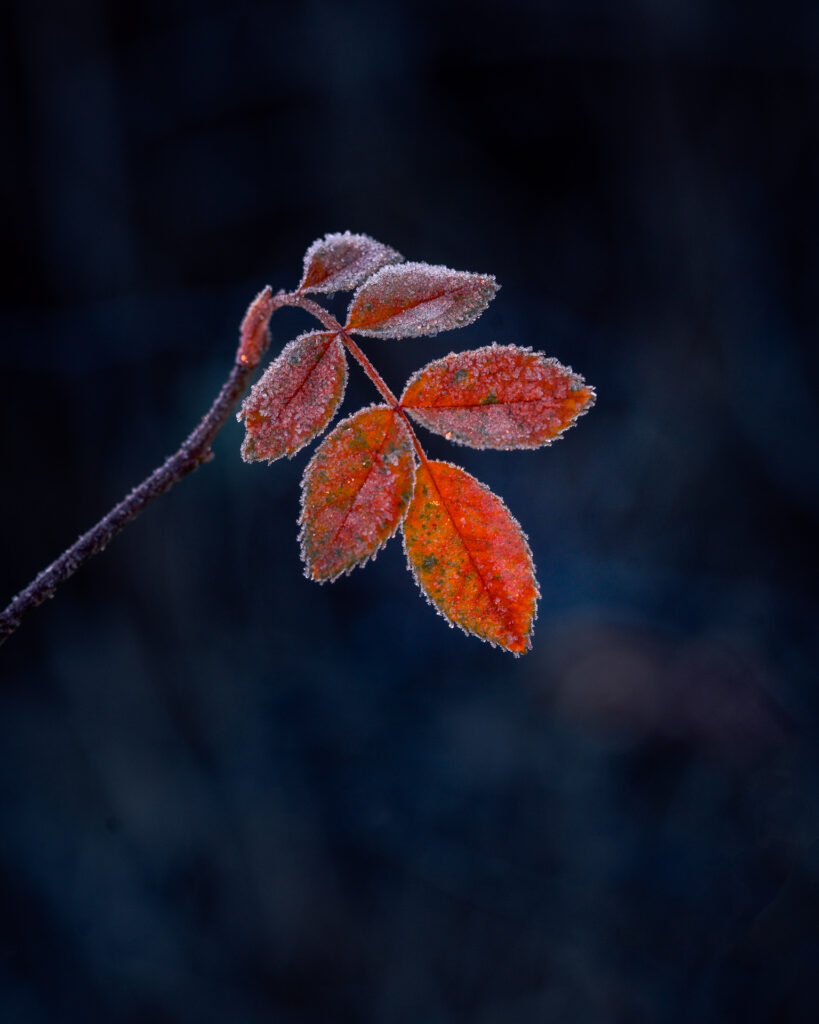
- Golden low-angle light adds dimension and sparkle
Winter macro is a chance to photograph what most people never notice.
Essential Gear for Winter Macro Photography
Camera and Lens
You can shoot macro with:
- A dedicated macro lens (preferred for 1:1 magnification)
- Extension tubes for budget flexibility
- Close-up filters for lightweight convenience
Ideal focal lengths:
- 90–105mm for insects and comfortable working distance
- 50–60mm for frozen textures and detail shots
Tripod
Important for:
- Stabilizing tiny subjects
- Focus stacking
- Slow-shutter control in low light
Lighting Gear
- LED light or macro ring light for sparkle control
- Reflector for directing natural light
- Diffuser to soften harsh sunlight on ice crystals
Winter Protection
- Insulated finger gloves with flip tips
- Camera rain cover or plastic bag to prevent moisture
- Extra batteries (cold drains them fast)
- Lens cloths for condensation
Best Winter Macro Subjects
| Subject | Where to Find It | When to Shoot |
|---|---|---|
| Snowflakes | On dark fabrics or windows | Just below freezing, falling snow |
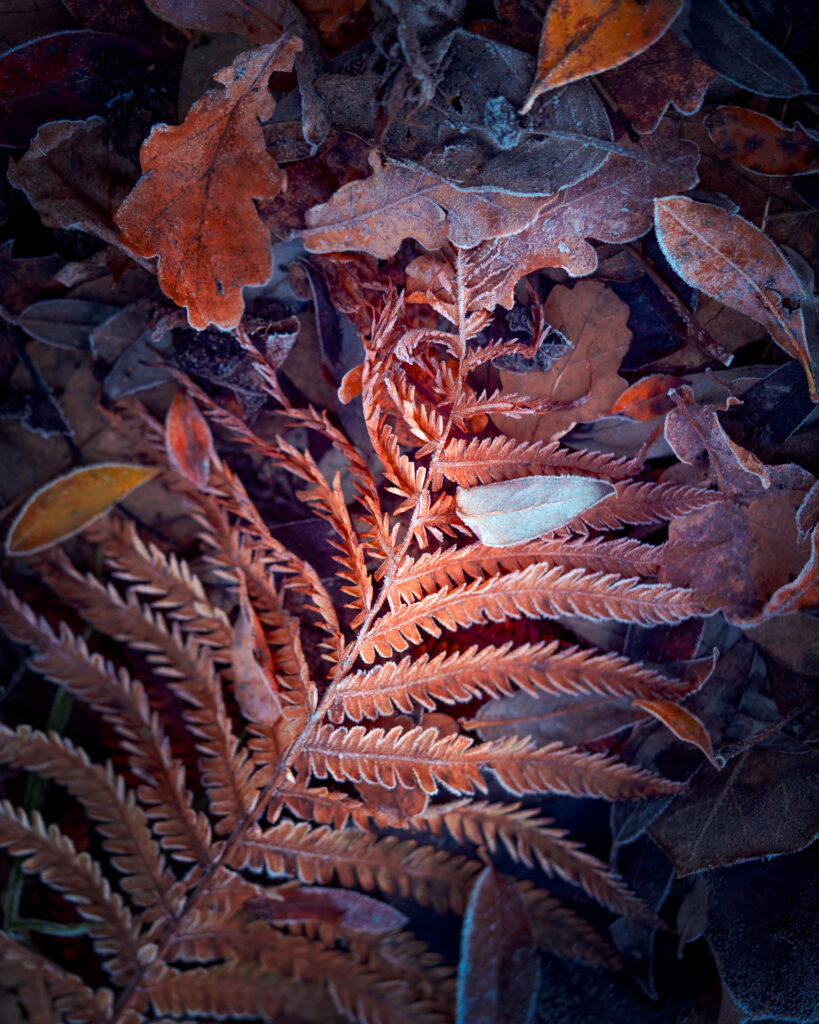
| Frost crystals | Grass, leaves, car windows | Early mornings after cold clear nights |
| Ice bubbles | Frozen lakes, ponds, puddles | During first freezes, close to shore |
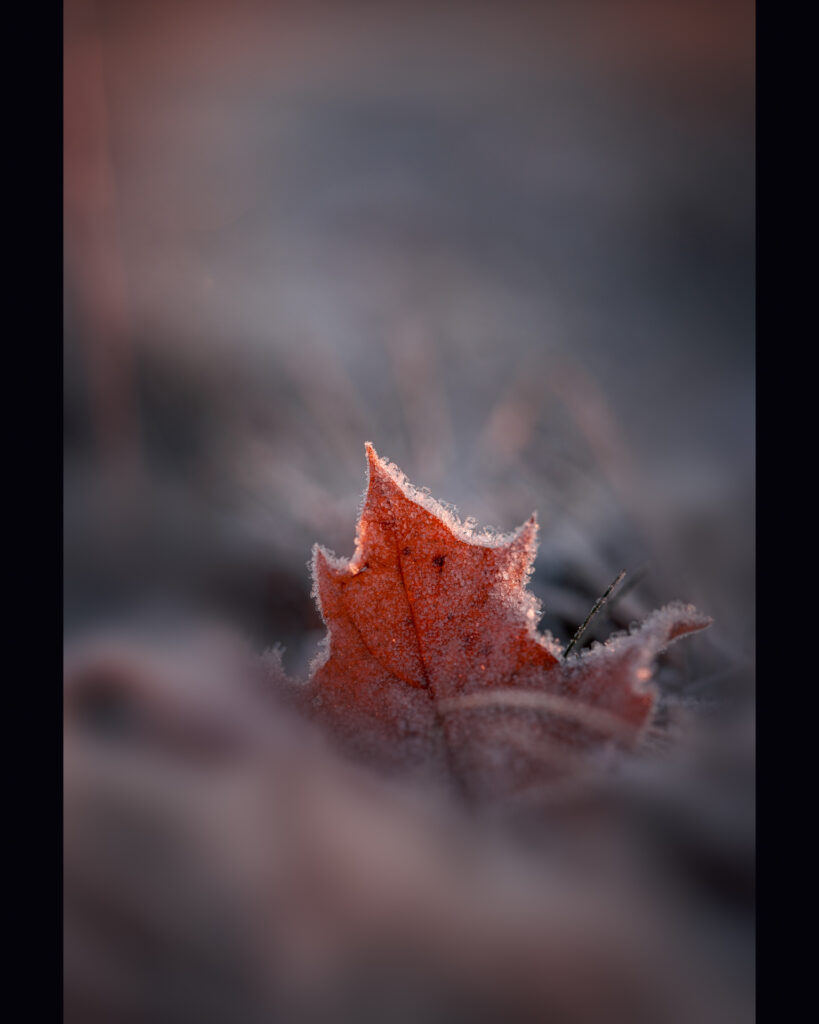
| Frozen leaves | Forest floors, sidewalks, shallow water | Morning after thaw-freeze cycles |
| Winter insects | Tree bark, under leaves | Sunny cold days, often slow-moving |
| Seed pods | Meadows and gardens | Throughout winter |
| Moss & lichens | Rocks, fallen logs | Mild winter days |
Tip: Scout areas before cold mornings so you know where to return when frost hits.
Mastering Focus and Depth of Field
Close focusing creates razor-thin depth of field. To control sharpness:
Use Manual Focus
Tiny winter details often confuse autofocus.
Focus Stacking Technique
Combine multiple focus points into one sharp image — especially useful for:
- Snowflakes
- Frost patterns
- Detailed textures on leaves
Aperture Strategy
- f/2.8–f/5.6 for creative bokeh and isolating subjects
- f/8–f/16 for more complete sharpness in focus stacking
Use live view and focus peaking if available — huge help in the cold.
Best Camera Settings for Winter Macro
| Setting | Why |
|---|---|
| ISO 100–400 | Cleanest detail for fine crystals |
| Shutter 1/100–1/500 | For handheld frozen subjects |
| Aperture f/8–f/16 | More depth for textures |
| Manual mode | Complex lighting conditions |
| RAW format | Handles whites and blues better |
Experiment with backlight — light shining through ice creates magical contrast.
Lighting Tips for Winter Macro
- Shoot backlit frost at sunrise for glowing edges
- Place dark backgrounds behind snowflakes for clarity
- Use a small LED light to reveal transparency in ice
- Avoid breathing toward your subject — it melts!
Pro trick: A cheap black glove makes an excellent snowflake landing pad.
Composition and Creativity
- Use leading lines — stems, grass, and frozen veins guide the eye
- Isolate subjects with negative space (snow works beautifully for this)
- Add storytelling: a single leaf battling winter feels emotional
- Include environmental hints like branches or bokeh from sunlight
Think small, but compose like a landscape.
Staying Safe and Productive in the Cold
- Keep batteries in inner pockets for warmth
- Store gear in sealed bag when moving indoors (condensation prevention)
- Warm up fingers often — frostbite isn’t worth the shot
- Scout locations near home to minimize exposure time
The best frost may only last 15–30 minutes — be ready in advance.
A Simple Winter Macro Workflow
- Scout and plan locations the day before
- Arrive before sunrise
- Start with wider scene, then go smaller as light grows
- Focus stack key textures
- Shoot handheld creative angles when sun is higher
- Replace batteries and keep lens dry throughout
Editing Winter Macro Images
Winter macro benefits from subtle enhancements:
- Adjust white balance to remove blue cast or keep for mood
- Increase clarity and contrast on ice edges
- Sharpen specific details using masks
- Reduce highlights on bright snow
Keep processing natural — winter beauty doesn’t need heavy editing.
Best Weather and Timing Conditions
| Condition | What You Get |
|---|---|
| Clear cold nights | Perfect frost crystals |
| Fresh snowfall | Snowflakes and white textures |
| Thaw/freeze cycles | Frozen water patterns |
| Foggy mornings | Ethereal mood |
| Low-angle sun | Golden highlights on ice |
Check temperature and humidity reports — frost forms best near 98–100% humidity and –2°C to –8°C.
Winter Macro Checklist
Before heading out, make sure you have:
- Macro lens or close-up tool
- Tripod + remote/2s timer
- LED or pocket light
- Spare batteries + hand warmers
- Microfiber cloths + lens hood
- Waterproof kneeling mat for low perspectives
Seal your camera gear outside before entering warmer air.
FAQ: Winter Macro Photography
- Do I need a macro lens to shoot winter details?
No — extension tubes and close-up filters work great. - How do I avoid condensation?
Keep your camera in a sealed bag while warming up indoors. - Which location is best for frost?
Shaded grass or leaves exposed to cold air during the night. - When should I go out to shoot snowflakes?
When it’s snowing at temperatures below freezing. - How do I keep hands warm and functional?
Use layered gloves with finger flaps for easy access. - Can I shoot macro in winter without a tripod?
Yes, but keep shutter speeds fast and stabilize your arms. - Why do snowflakes melt as I shoot them?
Your body heat and breath — keep distance and use tools. - What is the best backdrop for snowflakes?
Dark fabric or felt — creates clarity and contrast. - How do I find winter insects?
Look under bark, on sunlit tree trunks, or near compost piles. - Can smartphones do winter macro?
Yes — with clip-on lenses and strong light.