Capturing Nordic light is one of the most rewarding experiences a travel photographer can have. From the golden-pink hue of winter twilight to the dramatic greens of the Aurora Borealis, the Nordic region delivers some of the most atmospheric light on Earth. This guide breaks down everything you need to know to photograph Nordic light like a professional—from gear to technique, locations, seasons, aurora science, camera settings, and post-processing workflows.
What Makes Nordic Light So Special?
1. Low Solar Angles
The sun travels low across the sky most of the year, meaning long golden hours and soft shadows ideal for landscapes and portraits.
2. High Atmospheric Clarity
Cold, dry northern air creates crisp contrast and extremely clean light, especially in winter.
3. Extended Twilight
Blue hour can last 1–3 hours depending on latitude and season, giving you more time to work with soft light.
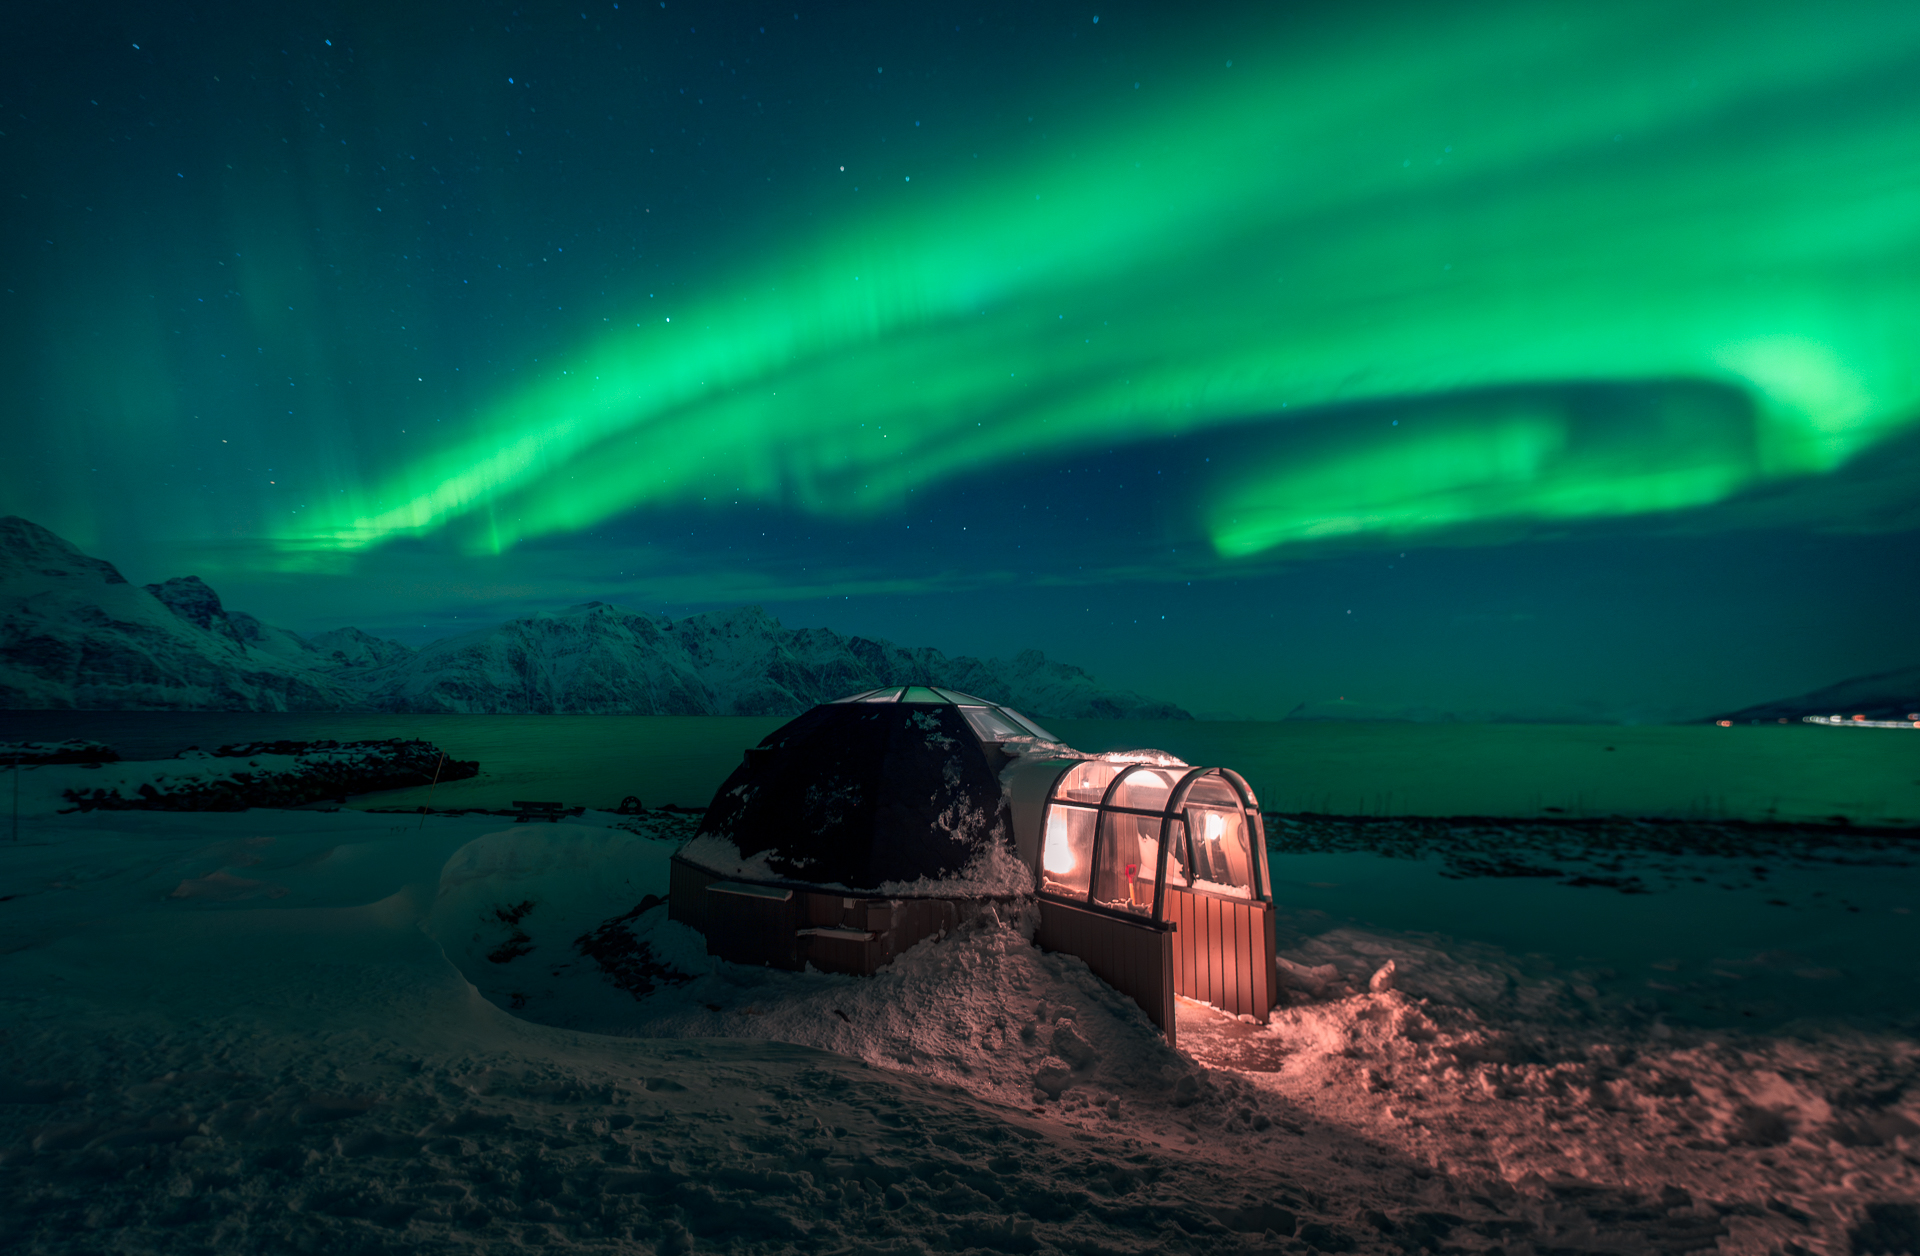
4. The Aurora Borealis
Unique to high-latitude regions, the Northern Lights transform Nordic nights into glowing curtains of color—greens, purples, reds, and blues.
Understanding Nordic Light by Season
Winter (December–February)
The season of polar night, long twilight, and aurora-rich skies. The light stays low, warm, and directional.
Best for:
• Auroras
• Snow-covered minimalist scenes
• Arctic fog
• Frozen blue hour photography
Spring (March–April)
More daylight but still cold and clear. Great for mixed snow-and-sun contrast.
Best for:
• Mountain landscapes
• Melt-season waterfalls
• Backlit peaks
Summer (May–August)
Midnight sun north of the Arctic Circle. Golden hour lasts for hours; no true darkness.
Best for:
• Sunset shots at midnight
• Coastal golden hours
• Long hikes with consistent light
Autumn (September–November)
A photographer’s dream: autumn colors, fog, crisp nights, and the return of the aurora.
Best for:
• Forest photography
• Early-season auroras
• Misty mornings
• Lakeside reflections
Aurora Borealis: The Science Behind the Light
Auroras occur when charged particles from the sun interact with Earth’s magnetic field, emitting light as they enter the atmosphere.
Key Aurora Colors
• Green — most common
• Pink/purple — strong storms
• Red — high-altitude auroras
• Blue — rare and faint
KP Index
Aurora forecasts often use the KP system (0–9).
KP 0–2: visible only in the far north
KP 3–5: visible throughout Lapland and northern Scandinavia
KP 6–7: visible across southern Scandinavia
KP 8–9: visible in much of Northern Europe
Best Locations in the Nordics for Aurora Photography
Norway
• Tromsø – reliable auroras and easy access
• Senja – dramatic peaks and fjords as foregrounds
• Lofoten Islands – iconic beaches, mountains, and fishing villages
External link: https://www.visitnorway.com
Sweden
• Abisko National Park – famously stable “blue hole” microclimate
• Kiruna & Jukkasjärvi – snowy landscapes ideal for foregrounds
External link: https://visitsweden.com
Finland
• Saariselkä & Levi – snow-covered forests and long aurora seasons
• Rovaniemi – accessible for beginners
External link: https://www.visitfinland.com
Iceland
• Vik – black sand beaches and vibrant auroras
• Reykjanes Peninsula – close to Reykjavik with low light pollution
• Eastfjords & Westfjords – remote, dramatic, low crowds
External link: https://visiticeland.com
Denmark
Auroras are rare but visible during strong storms, especially in Skagen and Bornholm.
External link: https://www.visitdenmark.com
Aurora Photography Gear
Cameras
• Full-frame mirrorless cameras recommended
• Good high-ISO performance
• Weather-sealed for Arctic cold
Lenses
• 14–24mm wide-angle (best)
• f/1.4–f/2.8 for low light
• Prime lenses offer sharper auroras
Essential Accessories
• Tripod
• Extra batteries (keep warm)
• Lens heater (for frost)
• Remote shutter or intervalometer
• Headlamp with red light
Camera Settings for Aurora Photography
Basic Aurora Settings
• Mode: Manual
• Aperture: f/1.4–f/2.8
• Shutter speed: 1–10 sec
(Faster auroras need 0.5–2 sec)
• ISO: 800–3200
• Focus: Manual, set to infinity
• White balance: 3500–4000K
For Fast Auroras
• Shutter: 0.5–1 sec
• ISO: 3200–6400
For Dim Auroras
• Shutter: 8–12 sec
• ISO: 1000–2000
Foreground Illumination
Use low-intensity headlamp or let moonlight sculpt the landscape.
How to Focus at Night
- Switch to manual focus
- Zoom in digitally
- Focus on the brightest star
- Slightly pull back from hard stop
Never trust lens infinity markings—each lens differs.
Composition Techniques for Auroras
Use a Strong Foreground
• Cabins
• Mountains
• Coastlines
• Lakes, reflections
• Snow-covered trees
Leading Lines
Ice cracks, rivers, roads, and shorelines work perfectly under auroras.
Incorporate Moonlight
A half-moon is ideal for illuminating landscapes without blowing highlights.
Capture Movement
Auroras naturally create curves—compose to echo these shapes.
Timing Your Aurora Shoot
Best Time of Year
• Late September to late March
• Peak months: December–February
Best Time of Night
• 21:00–02:00
Best Weather
• Clear skies
• Low wind
• Low humidity
Forecast Tools
• NOAA Aurora Forecast
• Aurora Service Europe
• Local weather radar
Shooting Nordic Light Beyond Auroras
Blue Hour Landscapes
Use shutter speeds of 1–10 seconds and keep ISO low.
Winter Golden Hour
The sun stays low for extended periods—perfect for backlight, rim light, and silhouettes.
Foggy Forests
Finland and Sweden offer ideal conditions between September and November.
Midnight Sun
Shoot around the “cyclical sunset” between 23:00–02:00 for endless golden hues.
Post-Processing for Aurora Photography
1. Keep Colors Natural
Avoid neon greens and over-saturation.
2. Lift Shadows Gently
Auroras often look cleaner with moderate shadow recovery.
3. Adjust Whites and Highlights
Preserve detail in bright aurora ribbons.
4. Reduce Noise Carefully
Use luminance noise reduction sparingly—retain detail in stars.
5. White Balance
Adjust to 3500–5000K depending on scene.
Safety & Field Tips
• Always tell someone your route if in remote Arctic areas
• Carry microspikes—ice is common on lakes and hills
• Protect gear from condensation by sealing in a cold bag when returning indoors
• Use chemical hand warmers near batteries
• Watch out for ocean waves in Iceland at night
Internal Links (frewaphoto.com)
• Swedish Lapland Photography Guide
https://frewaphoto.com/swedish-lapland-photography-guide/
• Ultimate Guide to Winter Photography in Sweden
https://frewaphoto.com/ultimate-guide-to-winter-photography-sweden/
• Winter Macro Photography Guide
https://frewaphoto.com/winter-macro-photography-guide/
• The Best Destinations for January Photography
https://frewaphoto.com/january-photography-destinations/
External Links (Official Resources)
• Visit Norway – Aurora & Arctic travel
https://www.visitnorway.com
• Visit Sweden – Winter & northern travel
https://visitsweden.com
• Visit Finland – Lapland & Arctic Circle
https://www.visitfinland.com
• Visit Iceland
https://visiticeland.com
• NOAA Aurora Forecast
https://www.swpc.noaa.gov
FAQ — Nordic Light & Aurora Photography
1. When is the best time to see the Northern Lights?
From late September to late March, especially between 21:00–02:00.
2. Do you need a full-frame camera?
It helps with ISO performance, but modern APS-C systems can also work.
3. What lens is best for auroras?
A fast wide-angle (14–24mm, f/1.4–f/2.8).
4. Can you photograph auroras during a full moon?
Yes, and the moon can beautifully illuminate the landscape.
5. What KP level is required?
KP 2–3 for northern Lapland. KP 6+ for auroras in Denmark or southern Sweden.
6. Should I use autofocus?
No. Always use manual focus for stars.
7. How cold does it get when shooting auroras?
Often –10°C to –30°C depending on region.
8. Can beginners capture the Northern Lights?
Absolutely—with a tripod and manual settings.
9. Are auroras visible in summer?
No—there is no darkness north of the Arctic Circle.
10. Are phone cameras good for auroras?
Newer models perform surprisingly well but still can’t beat a fast lens and manual settings.