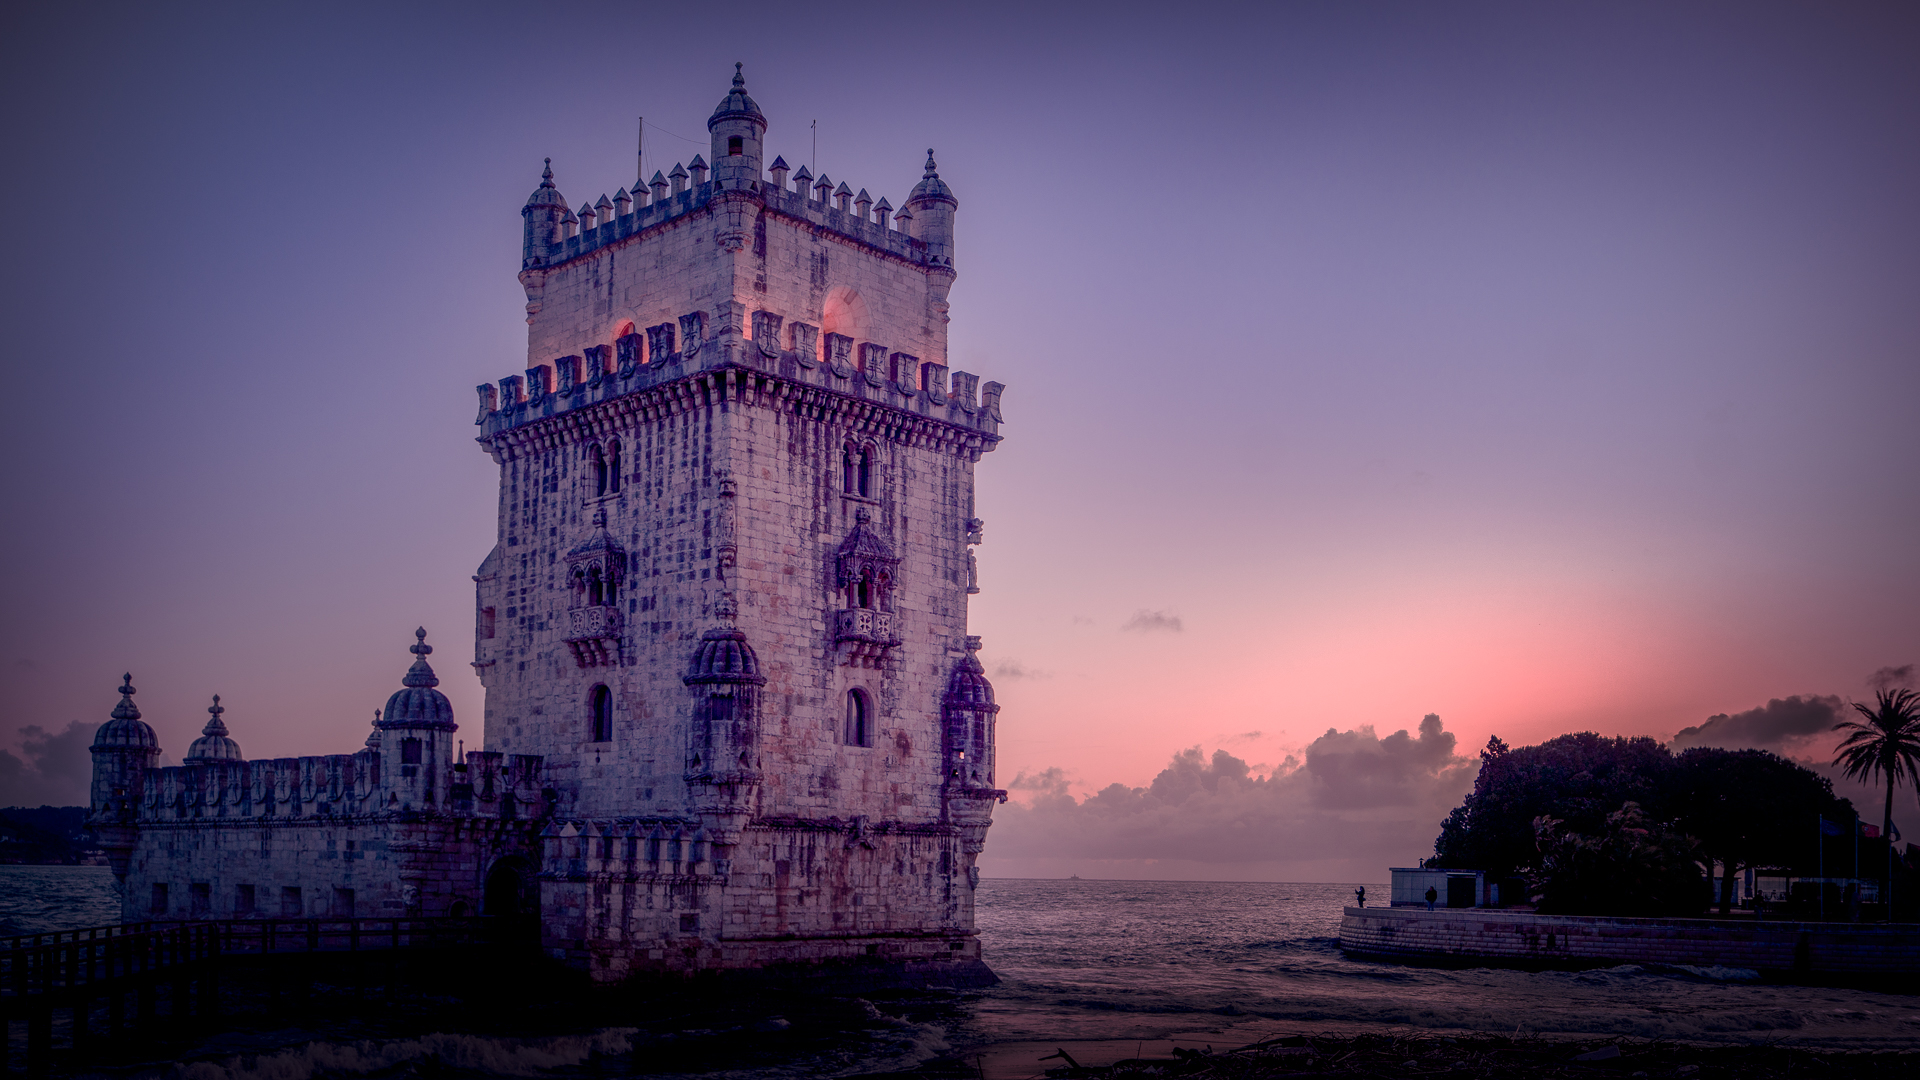
Few landmarks in Lisbon are as photogenic — or as iconic — as Belém Tower. Rising from the Tagus River with carved stone balconies and dramatic Manueline details, this UNESCO-listed monument is one of Portugal’s most photographed locations.
But here’s the truth: most people photograph it the same way.
If you want images that stand out — whether you’re shooting for Instagram, a portfolio, stock, or a travel blog — this ultimate photography guide will help you capture Belem Tower creatively, technically, and strategically.
We’ll cover:
- Best times to shoot (sunrise vs sunset vs blue hour)
- Tides and reflections (hugely important)
- Exact angles and compositions
- Drone considerations
- Lens choices and camera settings
- Seasonal differences
- Avoiding crowds
- Creative shots beyond the classic postcard
Let’s dive in.
Why Belém Tower Is a Photographer’s Dream
Built between 1514 and 1520 during Portugal’s Age of Discovery, Belém Tower was originally a defensive fortress guarding Lisbon’s harbor. Its ornate Manueline architecture features:
- Intricate stone carvings
- Turrets and watchtowers
- Decorative rope motifs
- Moorish-style balconies
- Dramatic symmetry
Set against the open water of the Tagus River, it gives you clean backgrounds and layered compositions — perfect for wide shots and detail photography alike.
Understanding the Light at Belem Tower
Light is everything here.
The tower faces south toward the river, meaning light behaves differently throughout the day.
Sunrise (Best Overall for Photographers)
At sunrise:
- The tower glows softly with warm side light.
- Crowds are minimal.
- Water is calmer (better reflections).
- You can shoot from multiple sides without backlighting issues.
This is the best time for:
- Editorial shots
- Clean architectural compositions
- Long exposures
- Minimalist frames
Midday
Not ideal — harsh shadows and high contrast.
But useful for:
- Black-and-white conversions
- Texture detail shots
- Strong contrast architectural frames
Sunset
Sunset gives you:
- Backlit silhouettes
- Golden tones on the water
- Dramatic skies when conditions align
However, expect:
- More tourists
- Busier foreground
- More dynamic but less controlled lighting
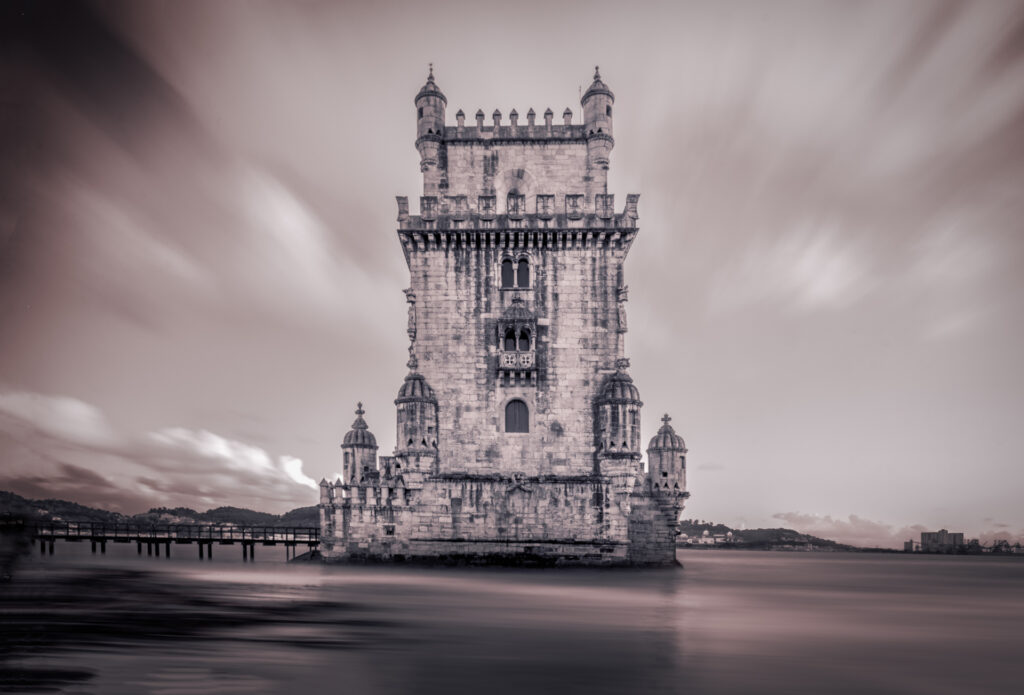
Blue Hour
After sunset:
- The tower lights up subtly.
- The sky deepens into rich blue.
- Long exposures smooth the river.
This is perfect for:
- Tripod work
- Moody compositions
- Fine art style images
The Importance of Tides
This is the most overlooked factor when photographing Belém Tower.
Depending on the tide:
- The tower may appear fully surrounded by water.
- Or partially connected by exposed sand/mud.
High tide:
- Cleaner look
- Better reflections
- More “floating” effect
Low tide:
- Reveals riverbed
- Adds texture
- Less aesthetic for classic shots
Check local tide charts before visiting.
Best Angles to Photograph Belém Tower
Let’s break down the exact spots.
1. The Classic Front Angle (Postcard Shot)
This is the iconic perspective:
- Facing the main façade.
- Tower centered.
- River in foreground.
How to Improve It
- Shoot low near the waterline.
- Use leading lines from the stone walkway.
- Wait for a clean foreground (few people).
- Try f/8–f/11 for maximum detail.
2. Side Profile With River Depth
Walk slightly toward the promenade and capture the tower at a diagonal angle.
This creates:
- Depth
- Shadow dimension
- Architectural layers
Use:
- 24–70mm lens
- Slightly off-center composition
3. Wide Minimalist Shot
Step back and use negative space.
Let:
- The sky dominate
- The tower sit small in frame
- The river create horizontal balance
This works beautifully during dramatic skies.
4. Detail Shots of Manueline Carvings
Zoom in on:
- Stone ropes
- Balconies
- Windows
- Turrets
- Armillary sphere motifs
Best lens:
- 70–200mm
- 85mm prime
Shoot side-lit for maximum texture.
5. Reflection Shot at High Tide
Get low.
Position camera near edge.
Wait for calm water.
Use:
- Polarizer (if needed)
- f/11 for sharpness
- Tripod if shooting long exposure
6. Silhouette at Sunset
Position yourself facing west.
Expose for sky.
Let the tower go dark.
Works best when:
- Sky has clouds
- Sun sets slightly to the side
7. Blue Hour Long Exposure
Set up tripod.
ISO 100.
f/8.
Shutter 15–30 seconds depending on light.
You’ll get:
- Smooth water
- Clean sky gradients
- Elegant mood
Best Lenses for Photographing Belem Tower
You don’t need every lens — but here’s what works best:
Wide (16–35mm)
- Architecture
- Sky drama
- Close foreground shots
Standard Zoom (24–70mm)
- Most versatile option
- Great for travel
Telephoto (70–200mm)
- Detail work
- Compression
- Isolating architectural features
Drone (If Legal)
Drone restrictions apply in Lisbon’s central airspace.
Always verify current Portuguese aviation regulations before flying.
How to Avoid Crowds
Belém Tower is one of Lisbon’s most visited attractions.
Best Strategies:
- Arrive 30–45 minutes before sunrise.
- Visit weekdays instead of weekends.
- Shoot tight detail shots to avoid people.
- Use long exposures to blur moving crowds.
- Visit in winter or shoulder season.
Seasonal Photography Differences
Spring
- Balanced light
- Occasional dramatic skies
- Comfortable temperatures
Summer
- Long golden hours
- Very crowded
- Bright skies
Autumn
- Soft light
- Potential moody clouds
- Fewer crowds
Winter
- Dramatic skies
- Strong wind sometimes
- Excellent contrast
Creative Photography Ideas
Want something less common?
1. Include Cyclists
Capture Lisbon lifestyle by including bikers passing along the promenade.
2. Frame Through Objects
Use:
- Stone archways
- Railings
- Trees
- Foreground blur techniques
3. Moody Black and White
Convert high contrast midday shots.
4. Motion Blur Boats
Long exposure while boats pass in distance.
5. Low Perspective Drama
Shoot from ground level to exaggerate height.
Combining Belem Tower With Other Photo Spots
Plan a half-day photography route:
- Start at sunrise at Belém Tower.
- Walk to Jerónimos Monastery for architectural symmetry.
- Capture modern contrast at MAAT – Museum of Art, Architecture and Technology.
- End with pastel shots at Pastéis de Belém.
This gives you:
- Historic architecture
- River landscapes
- Modern design
- Food photography
Camera Settings Cheat Sheet
Sunrise Architecture
- ISO 100
- f/8–f/11
- Shutter adjusted for exposure
Golden Hour
- ISO 100–200
- f/8
- Slight underexpose (-0.3)
Blue Hour Long Exposure
- ISO 100
- f/8
- 15–30 seconds
- Tripod required
Is It Worth Going Inside?
Yes — but for photography, exterior shots are stronger.
Inside you’ll find:
- Stone staircases
- Window frames
- River views
But the exterior is the real star.
Final Thoughts: How to Capture Belem Tower Differently
Most people take one quick snapshot and leave.
But Belém Tower rewards:
- Patience
- Understanding of light
- Attention to tides
- Creative framing
If you give it time — especially at sunrise or blue hour — you can create images that feel timeless rather than touristy.
The key is not just to photograph the tower — but to photograph the atmosphere around it.
Light. Water. Sky. Texture. Movement.
That’s where the magic happens.
FAQs – Photographing Belem Tower
What is the best time to photograph Belém Tower?
Sunrise offers the best light and smallest crowds.
Is sunset good?
Yes — especially for silhouettes and golden tones.
Can you use a tripod?
Yes, outdoors it is generally allowed. Inside may have restrictions.
Do you need a ticket to photograph outside?
No — exterior photography is free.
Is drone photography allowed?
Restricted in Lisbon’s airspace — always check Portuguese aviation rules.
How long should you spend photographing?
At least 1–2 hours if you want multiple lighting conditions.
Is Belém Tower worth photographing in bad weather?
Absolutely — moody skies create dramatic results.